Save a view of the tickets you need
A saved view keeps filters you use often, such as the high-priority tickets of one workspace or everything tagged billing. Your views are yours: colleagues do not see them.
- 1
Filter the queue
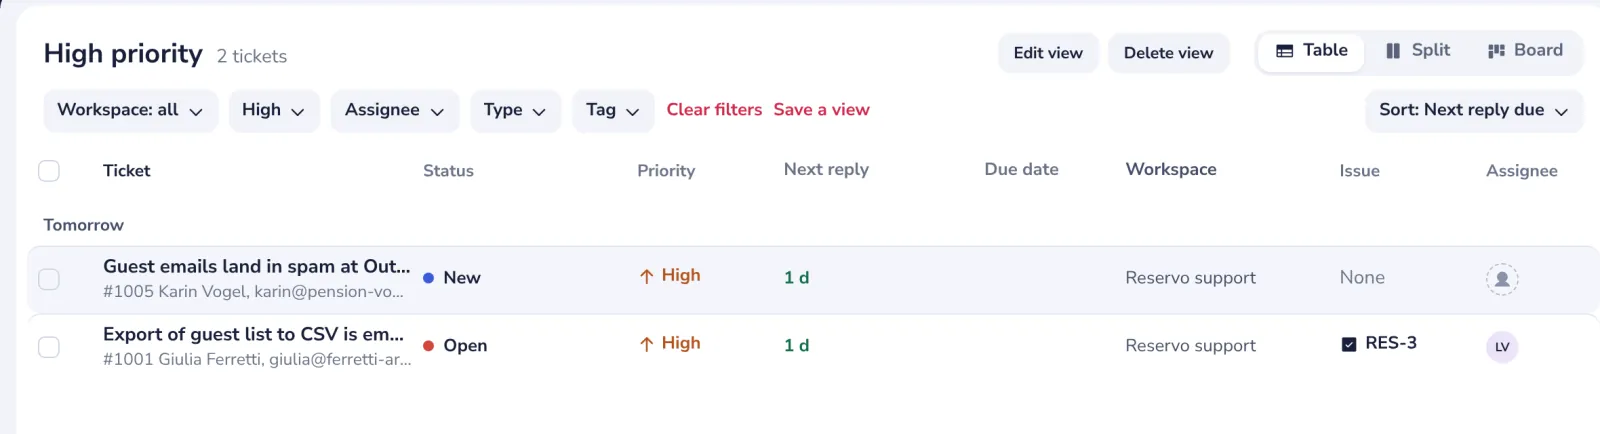
Choose a workspace, priority, assignee, type or tag above the list.
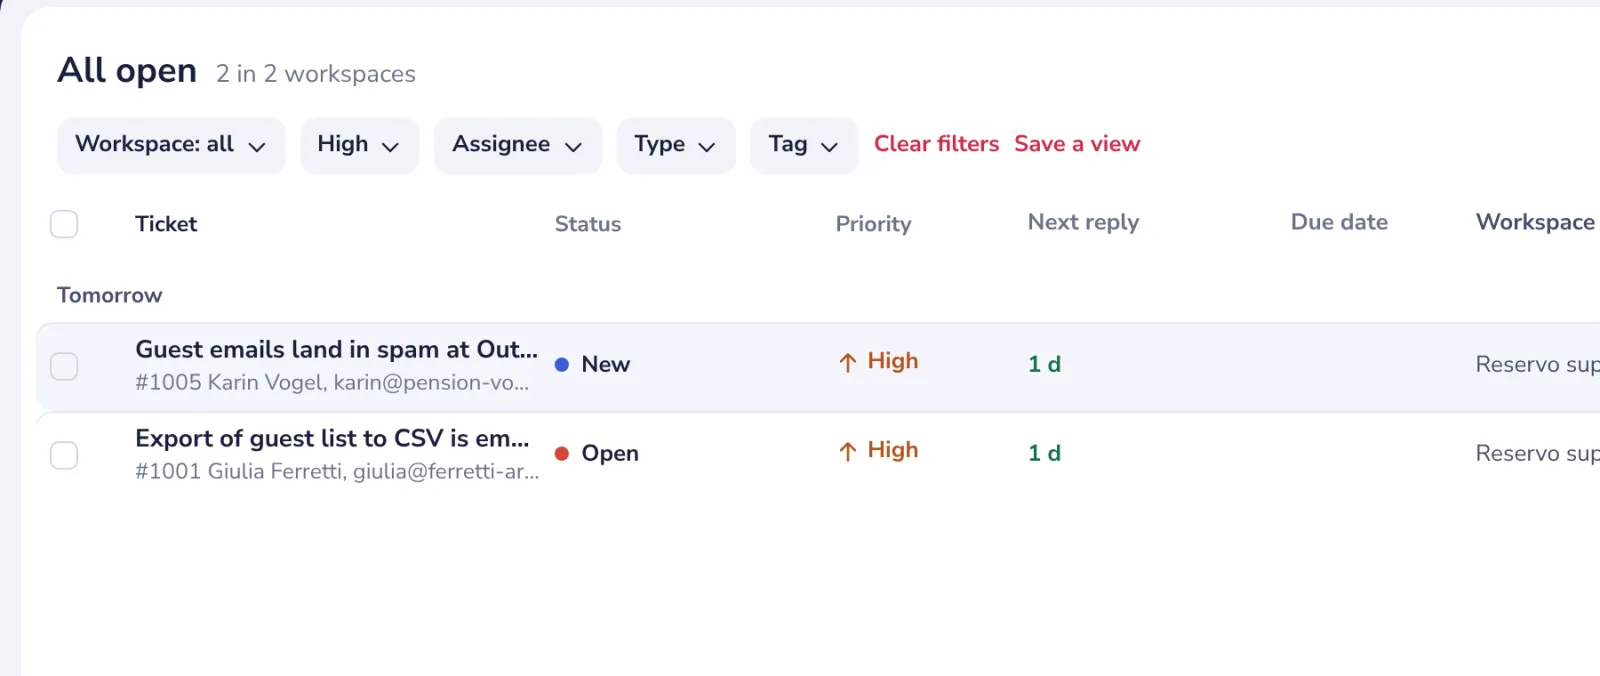
- 2
Press Save a view
Next to the filters once one is chosen, or the + next to Saved views in the side panel.
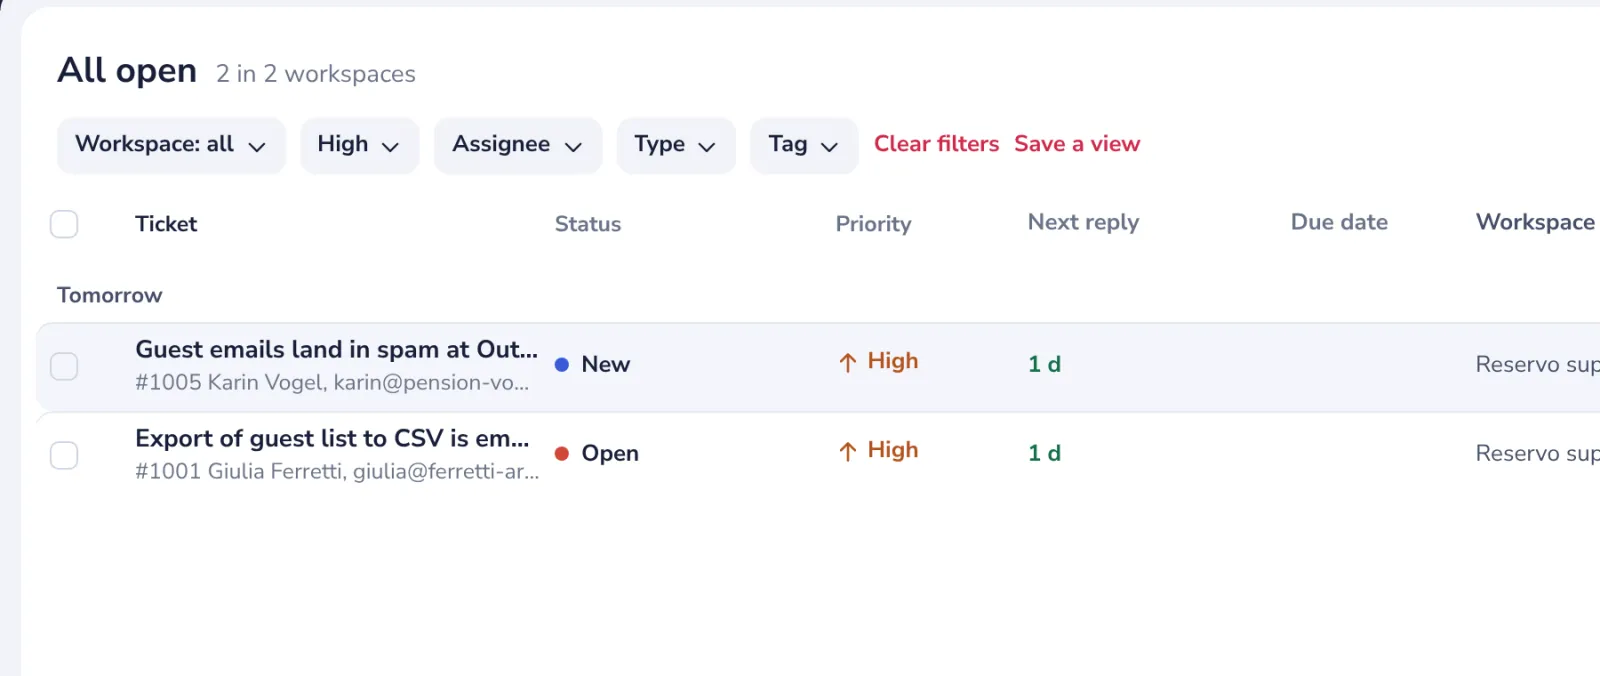
- 3
Give it a name
The filter is filled in from what is on screen.
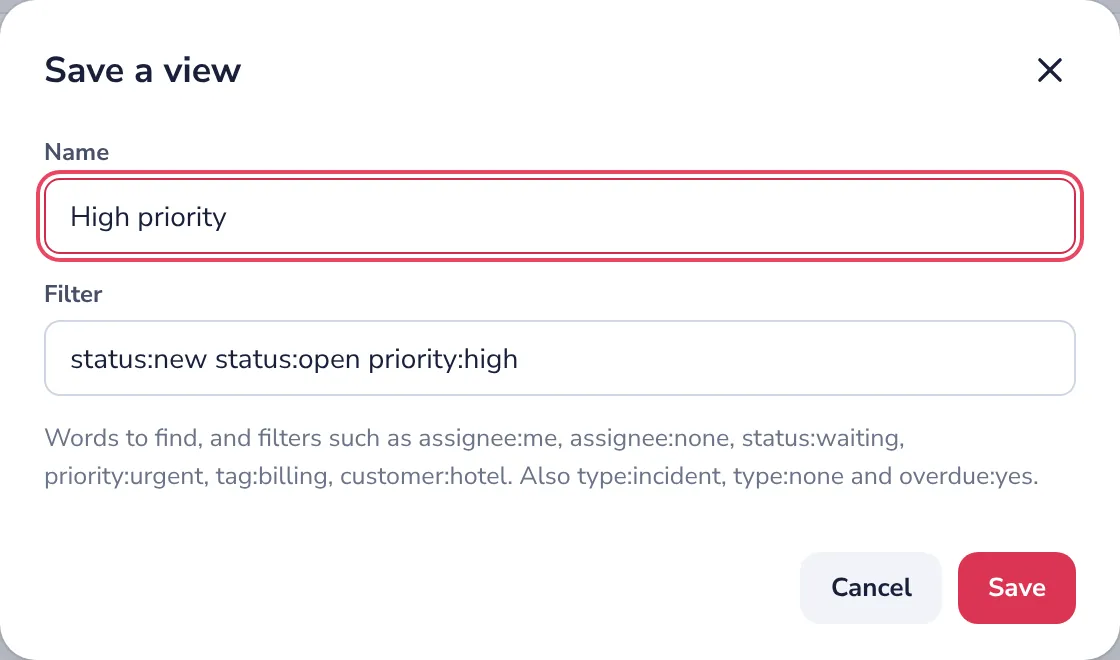
You can add to the filter: assignee:me, tag:billing, overdue:yes or ws:Billing for one workspace.
- 4
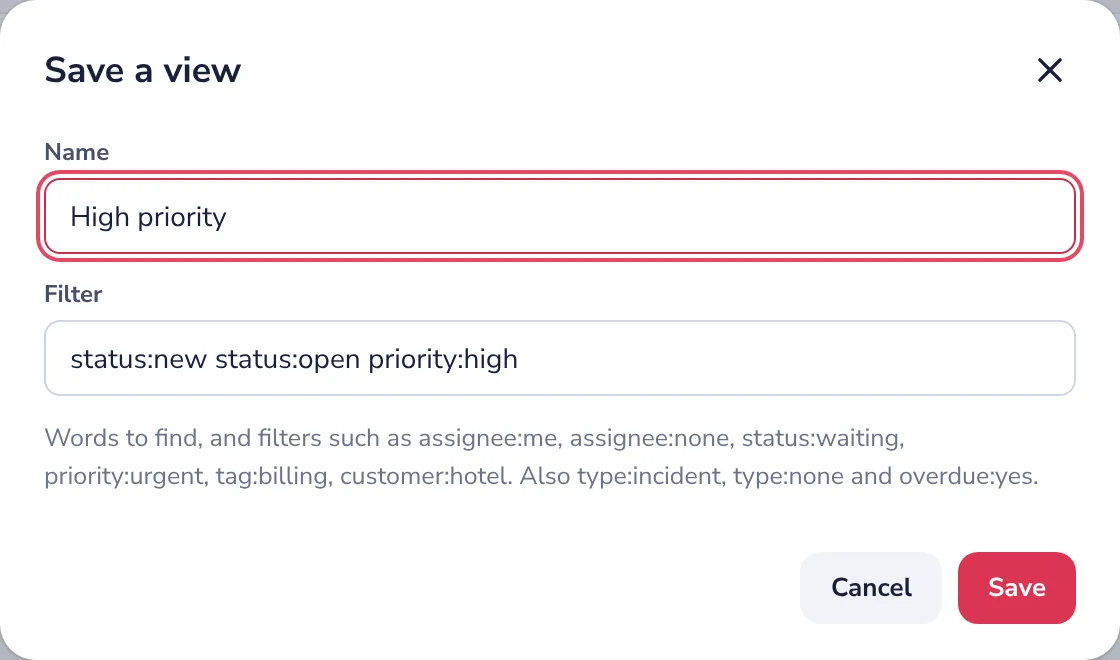
Press Save
The view shows under Saved views in the side panel, with how many tickets are in it.
- 5
Change or delete it
Open the view; Edit view and Delete view are at the top.
Was this helpful?
What was missing?
Thank you.
We count yes and no per article. Nothing about you is stored.